 VirtualCardx
WordPress Performance: Core Web Vitals in Practice
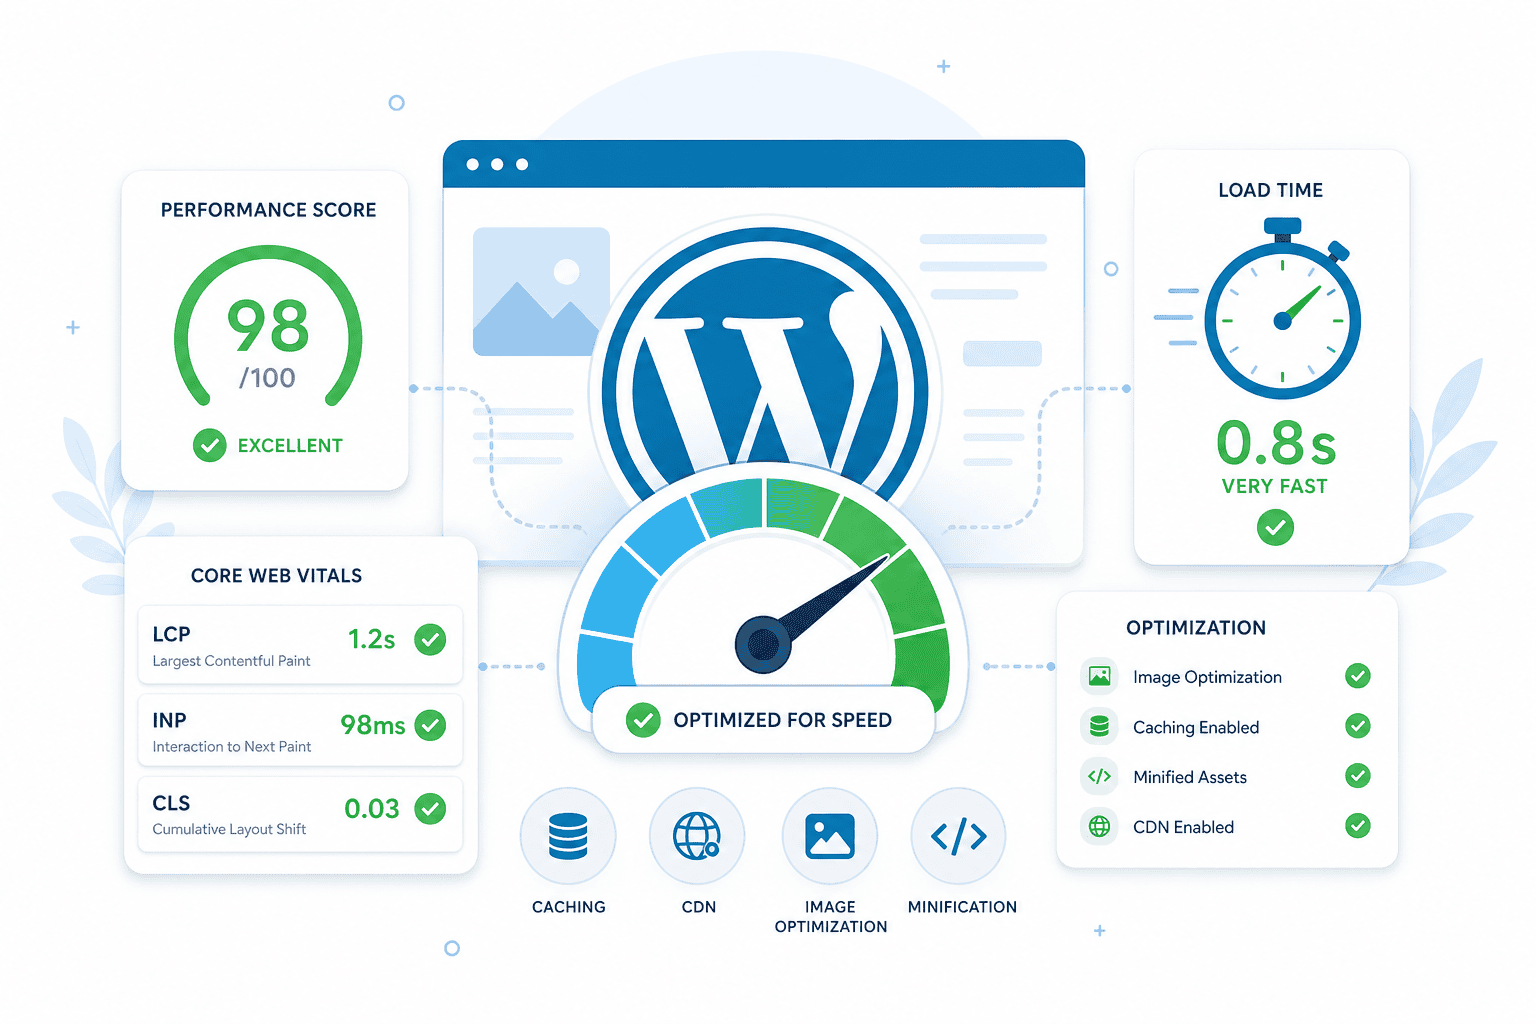
In March 2024, Google officially added INP (Interaction to Next Paint) to the Core Web Vitals metrics, replacing the previous FID. This means that if your WordPress site isn’t responsive enough, your search rankings will be directly affected. But to be honest, most WordPress site owners” understanding of performance optimization is still limited to ”installing a caching plugin.”
This article breaks down several key aspects of WordPress performance optimization, starting with the three Core Web Vitals metrics, and provides specific steps to follow. No fluff here—every step is ready to implement right away.
What Exactly Do Core Web Vitals Measure?
Google currently focuses on three core metrics: LCP (Largest Contentful Paint), which measures load speed, with a target of 2.5 seconds or less; INP (Interaction to Next Paint), which measures interaction responsiveness, with a target of 200 milliseconds or less; and CLS (Cumulative Layout Shift), which measures visual stability, with a target of 0.1 or less.
These three metrics weren’t chosen at random. Google’s CrUX data shows that when page load time increases from 1 second to 3 seconds, the bounce rate rises by 32%. E-commerce sites are even more sensitive to this: a 1-second delay in loading results in a 7% drop in conversion rates. Behind these numbers lie real user behavior patterns—no one wants to wait for a sluggish webpage.
LCP Optimization: Rendering Above-the-Fold Content as Quickly as Possible
LCP measures the rendering time of the largest visible element on a page. For WordPress sites, this ”largest element” is typically the large image on the first screen or the headline in the hero section.
The first thing to address is images. Starting with version 5.5, WordPress natively supports the `loading=”lazy”` attribute, but many themes and plugins don’t handle it properly yet. Check to see if your above-the-fold images have been incorrectly set to lazy load—above-the-fold images should not be lazy-loaded; instead, they should be loaded first. You can useloading="eager"Orfetchpriority="high"Force priority.
You should also switch image formats. WebP is 25–35% smaller than JPEG, and AVIF is even more efficient, saving an additional 20%. WordPress 6.5+ natively supports WebP uploads and automatic conversion. If your theme is still using traditional large JPEG images, simply switching the format can reduce your LCP from 3 seconds to under 2 seconds.
Another often-overlooked factor is server response time (TTFB). Shared hosting typically has a TTFB of over 800 ms, and this time is directly added to the LCP. If your site uses WooCommerce or has a lot of dynamic content, consider switching to a VPS or managed WordPress hosting. Cloudflare’s edge caching can reduce TTFB to under 100 ms, with immediate results.
INP Optimization: Interaction Responsiveness Is the Most Easily Overlooked Aspect
INP only officially became part of Core Web Vitals in March 2024, so many webmasters are still optimizing based on the old FID metric. The difference between the two is that FID measures only the latency of the first interaction, while INP measures the worst-case performance of all interactions throughout the entire page lifecycle. Simply put, INP is more stringent.
The number one reason for excessive INP on WordPress sites is JavaScript execution blocking. The JavaScript loaded by each plugin competes for resources on the main thread. When a user clicks a button, the browser must wait for the currently running JavaScript task to complete before it can respond; this wait time is the INP.
The troubleshooting approach is straightforward: Open the Performance panel in Chrome DevTools, record a user interaction, and look for Long Tasks (tasks lasting more than 50 ms). Each Long Task is a potential INP killer.
Some common pitfalls: Contact form plugins that initialize all form logic as soon as the page loads; social sharing buttons that load third-party SDKs; and tracking codes (Google Analytics, Facebook Pixel) that load simultaneously. The solution is to useLazy LoadingStrategy—JS code is executed only when the user actually interacts with the page. Both WP Rocket and FlyingPress support this feature, or you can implement it manually usingrequestIdleCallback()Package non-critical code.
CLS Optimization: Don't Let Page Elements Jump Around
CLS is the easiest of the three metrics to optimize. There are only a few common causes of page element jitter.
No space is reserved for images and embedded content (videos, ads). When uploading images in WordPress, if the theme has the `width` and `height` attributes set correctly, the browser will automatically reserve space. However, many custom themes take the easy way out and don’t set these dimensions, causing images to push content below them out of view once they load. This can be resolved by adding explicit `width` and `height` values to all `img` tags.
Font loading is another source of CLS. Custom fonts are rendered using a fallback font until they finish loading, and the change in text size during the font switch causes layout shifts. Usingfont-display: swapYou can have the browser use the system font first, but a better approach is to usesize-adjustFine-tune the size of the fallback font so that it matches the custom font as closely as possible.
Ad slots and dynamically injected DOM elements can also cause CLS. If you’re using an ad plugin, make sure the ad container has a fixed `min-height`. Content injected by the WordPress plugin “Insert Headers and Footers” falls into this category as well—check whether the injected content reserves enough space.
Caching Strategies: It’s Not Just About Installing a Plugin
Page caching is the most basic and effective method. Static HTML files load dozens of times faster than PHP-rendered pages. WP Super Cache and W3 Total Cache are free options, while WP Rocket is a paid solution but easier to configure. All three work on the same core principle: they save dynamic pages as static files, which Nginx or Apache then serves directly, bypassing PHP and the database.
However, if a caching plugin is configured incorrectly, it can actually slow down the site. Common issues include: caching logged-in user pages, which causes personalized content to display incorrectly; caching WooCommerce cart pages, which leads to issues with the checkout process; and caching rules that do not exclude requests from search engine crawlers.
Object caching is often overlooked. Every time WordPress loads a page, it performs dozens to hundreds of database queries; Redis or Memcached object caching can store the results of these queries in memory. According to actual tests, enabling Redis object caching can reduce database query times by 60–80%. If you use WooCommerce, BuddyPress, or a membership site, the benefits of object caching are even more pronounced.
Plugin Audit: Subtraction Is More Important Than Addition
I once saw a WordPress site with 47 plugins installed. The Query Monitor plugin showed that 80% of the PHP code executed during page load came from unnecessary plugins. Security firewalls, SEO suites, form builders, caching plugins, social sharing, and pop-up notifications—each one runs its own logic outside of `functions.php`.
Use the free Query Monitor plugin to run an audit. After installing it, visit a front-end page while logged in, and a debug bar will appear at the top. Click on it to see which scripts and styles each plugin has loaded, how much memory they’re using, and how many database queries they’ve executed.
The audit criteria are simple: if a plugin accounts for more than 15% of the total number of queries, but its functionality can be replaced with a lighter-weight alternative, remove it. Many features can actually be implemented using code snippets (via the Code Snippets plugin) without needing to install the full plugin.
CSS and JS "Slim-Down"
WordPress loads a large number of CSS and JS files by default. A typical GeneratePress theme site, before optimization, loads 15–20 CSS requests and 20–30 JS requests. Each request involves one HTTP round trip.
Theme-level optimization: Lightweight themes like GeneratePress and Astra keep CSS under 30 KB, while the CSS in some premium themes can exceed 200 KB. If you’re using Elementor, the generated CSS and JS files can increase exponentially.
The Critical CSS technique can significantly improve above-the-fold rendering. It works by extracting the CSS rules required for content visible above the fold and inlining them into the HTML’s `head` section, while the remaining CSS is loaded asynchronously. Both WP Rocket and Perfmatters support automatic generation of Critical CSS. For a manual approach, you can use CriticalCSS.com or an online tool to generate it, then inject it via your theme’s `functions.php` file.
The situation with JS is more complicated. WordPress'swp_enqueue_scriptBy default, scripts are loaded in the head section, which blocks rendering. Move non-critical scripts to the footer or adddefer/asyncRelease properties on the main thread. Here's how: In functions.php, useadd_filter('script_loader_tag', ...)Add the `defer` attribute to specific scripts. Note that jQuery generally does not recommend using `defer`, as many plugins rely on it for synchronous loading.
A CDN isn't a panacea, but you absolutely can't do without one.
The core value of a CDN is to reduce physical distance. If your server is in the United States and your users are in Asia, the RTT (Round Trip Time) could exceed 200 ms. A CDN caches static resources on nodes around the world, allowing users to retrieve files from the nearest node, thereby reducing the RTT to 20–50 ms.
Cloudflare’s free plan is more than sufficient for small and medium-sized WordPress sites. Enable Auto Minify to compress HTML, CSS, and JS; enable Brotli compression (which reduces file sizes by an additional 15–201 TP3T compared to Gzip); and set caching rules to cache static resources for one year. However, please note: Cloudflare’s Rocket Loader feature delays the loading of all JavaScript files. While this can improve initial rendering speed, it often causes plugins to malfunction. If your site has complex interactive features, we recommend disabling Rocket Loader.
Cloudflare’s Tiered Cache feature is worth enabling. It adds an additional layer of caching and distribution at the CDN level, reducing the number of requests that need to be routed back to your server. Paid plans offer more aggressive Edge Cache TTL rules, which, when used in conjunction with the Purge API of a WordPress caching plugin, allow for precise cache invalidation.
Database Cleanup: The Forgotten Performance Bottleneck
The WordPress database expands over time. Post revisions, auto-drafts, spam comments, expired transients, and orphaned data—all of these accumulate and slow down database queries. If the `autoload` field in the `wp_options` table contains a large amount of data, it is loaded into memory every time a page is loaded.
Batch cleanup using WP-CLI:wp post delete $(wp post list --post_type='revision' --format=ids) --forceDelete all revisions,wp transient delete --expiredClear expired transients.
Plugins such as WP-Optimize and Advanced Database Cleaner provide a graphical interface for database cleanup. However, be sure to back up your database before cleaning it. Exercise particular caution when cleaning up the autoload data in the `wp_options` table—make sure the options you delete are truly obsolete and not currently being used by any plugins.
Regularly running the `OPTIMIZE TABLE` command on database tables can also reclaim space, especially for tables using the MyISAM engine. While space reclamation is limited for tables using the InnoDB engine, defragmentation still offers benefits.
Ongoing monitoring is more important than a one-time optimization.
Once you’ve made these optimizations, don’t rush to call it a day. Core Web Vitals are dynamic metrics, and your site’s scores will fluctuate as content is added, plugins are updated, and traffic changes.
Google Search Console has a dedicated Core Web Vitals report that shows the distribution of data from real users over the past 28 days. If your site is indexed by Google, this report is free; the data comes from CrUX (Chrome User Experience Report) and covers actual visits from all Chrome users.
We recommend bookmarking the Core Web Vitals report in Google Search Console and checking it once a week. If a URL drops from ”Good” to ”Needs Improvement,” run a diagnostic using PageSpeed Insights—it will tell you whether the issue is with LCP, INP, or CLS, and provide corresponding optimization recommendations.
Another practical approach is to use Lighthouse CI for continuous testing on-premises. Integrate Lighthouse into your deployment workflow to automatically run a performance test before each release, and set thresholds (such as LCP < 2.5s, INP < 200 ms); if it doesn't meet the standard, block the release. This is much more reliable than discovering a performance regression only after the release.
There’s no silver bullet for optimizing WordPress performance. Every site has different bottlenecks, which require measurement, analysis, and targeted solutions. However, the methods above cover more than 90% of common issues. Start by measuring your site to identify its weak points, then address them one by one. After a month, you’ll find that your site is significantly faster, and you’ll see positive results in both search rankings and user experience.
2026 verification note
Recheck this procedure against the linked primary documentation and the live configuration before applying it. Product limits, plugin settings, dashboard labels, server paths, and commands change over time. Take a backup, test in staging where possible, validate configuration syntax before reload/restart, and verify the resulting HTTP status, canonical URL, logs, and user-visible behavior. Do not treat a successful command or a third-party tool score as proof that the underlying SEO, security, or availability issue is resolved.
Use least-privilege credentials, keep secrets out of repositories and logs, and preserve a rollback plan. For search changes, observe Search Console data over a normal reporting period rather than repeatedly requesting indexing.